What is Lazyload? And why do I need Lazyload?
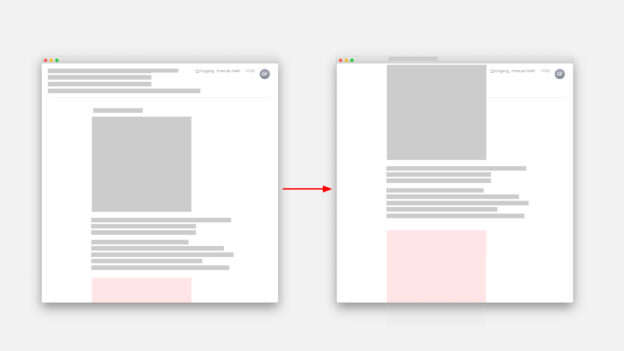
Lazyload is a function or script that ensures that images that are not initially visible are only loaded when they are visible – or become visible. Or to put it the other way round: only those images are loaded that are in the user’s field of vision or at least close to the user’s field of vision. And this can have many advantages. Above all, of course, performance benefits.
Especially when using images in Retina resolution (144dpi), optimizing the loading time can make a decisive contribution to improving performance and therefore also the user experience.
Lazyload as HTML attribute
Lazyload is now an HTML attribute and has been activated by default in WordPress for some time. This signals to the browser that an image should only be loaded when it comes into the user’s field of vision. To use this HTML function, simply add the attribute loading=“lazy” to an image.
<img src="/path/to/image/image.jpg" loading="lazy">
lazyload.js
Lazyload is also a stand-alone script or JavaScript. Like the HTML attribute, this can theoretically be integrated into any website, regardless of whether it is based on WordPress or not. Of course, there are now also various WordPress plugins that automatically integrate the Lazyload script into WordPress. However, in such cases I am always in favor of a solution that works without additional plugins. Especially if the implementation is as simple as with Lazyload.
Manually integrate Lazyload into WordPress
First you have to interact with Lazyload as a script. To do this, I simply placed the Javascript file in a corresponding “js” directory in my theme. The js file (as well as many helpful tips) can be found here from the author of Lazyload Andrea Verlicchi: https://www.andreaverlicchi.eu/vanilla-lazyload/
<script src="/wp-content/themes/mytheme/js/lazyload.min.js"></script>
I did this manually – of course you should actually load the script via the function.php. But that’s how it works.
Then of course you have to call Lazyload. I set this up by calling the script in the footer (footer.php):
<script>


var lazyLoadInstance = new LazyLoad({
// Your custom settings go here
});

</script>
There are various options and possibilities for using Lazyload. I have decided to first upload a low-resolution image and then use Lazyload to upload a high-resolution image. All you have to do is assign the corresponding sources to each image or IMG tag:
<img class="lazy" src="<?PHP echo($low_res_url); ?>" data-src="<?php echo esc_url( $high_res_url); ?>" />
And we’re done. Or are we?
Advantages of lazyload.js compared to the HTML attribute Lazyload
Of course, you can rely solely on the HTML function loading=“lazy” – that’s already a big win. However, it becomes difficult when the focus is on the user experience. Images are initially not loaded at all via the HTML attribute – but then the full version is loaded. This can be particularly annoying for websites with lots of images and/or a focus on design. With lazyload.js, a low-resolution image can be loaded first, which is then dynamically replaced with a higher-resolution version. This is often barely noticeable for users – the loading process appears smoother and the design of the website may appear more consistent than if only the HTML attribute is used.
Best results with a combination of HTML attribute and script
Fortunately, both methods can be combined with each other. In this case, low-triggered images are loaded first for all images – but only when they come into the user’s field of vision. In this way, even websites with a large number of images can be optimized in a user-friendly AND design-oriented way.
<img class="lazy" src="<?PHP echo($low_res_url); ?>" data-src="<?php echo esc_url( $high_res_url); ?>" loading="lazy" />